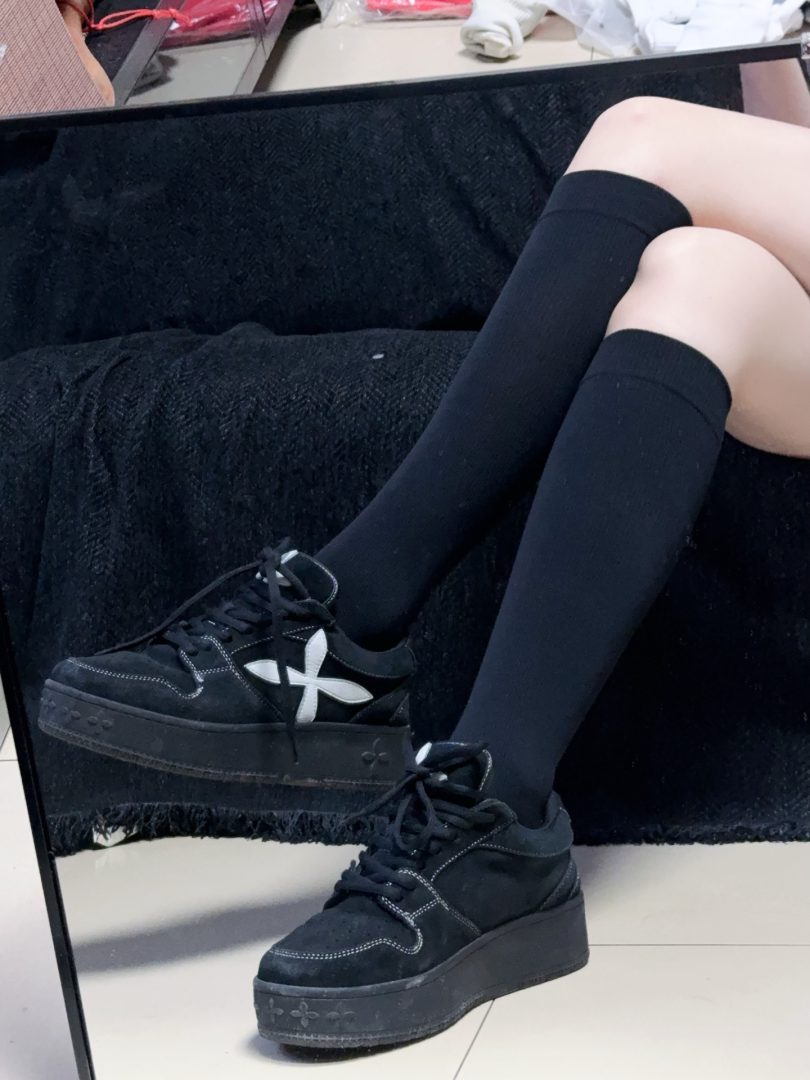
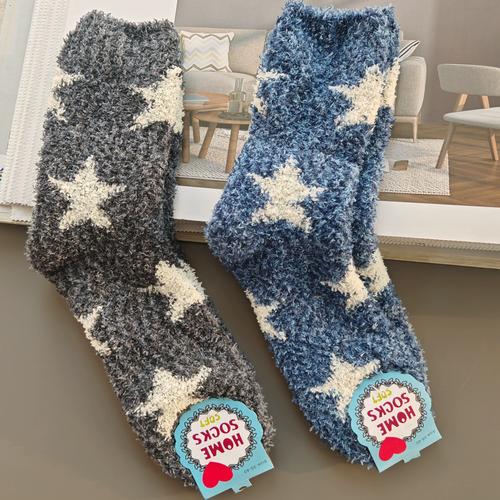
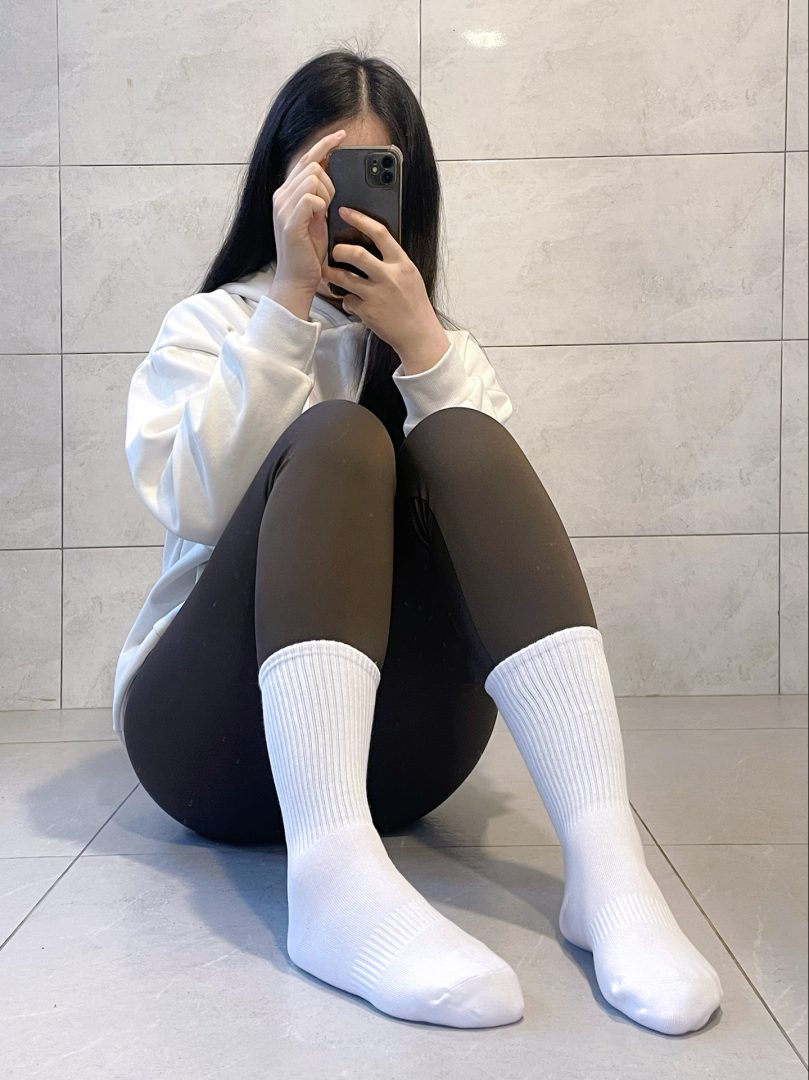
Designing for a sock is not designing for a flat surface. The artwork wraps around a tube, stretches over a calf, compresses at the ankle and disappears into a shoe. Every one of those distortions will move your design in ways a flat mock-up does not show. Most disappointing printed socks are not printing failures — they are design failures, made by people who approved artwork on a screen and never saw it on a leg.
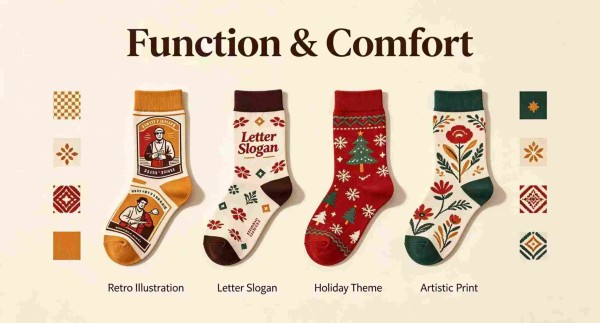
Every idea below can be produced through printed sock manufacturing, including jacquard, printing and retail-ready packaging.
File Setup and Resolution Supply artwork at 300 dpi at actual print size, or as vector for flat graphics. Work in the colour profile your printer specifies — usually sRGB for digital direct, and a specific ICC profile for sublimation. Flatten layers, outline fonts, and keep the file as a single high-resolution TIFF or PDF unless the printer asks otherwise. Low-resolution artwork is the single most common cause of a rejected file, and it cannot be fixed at the printing stage.
Work From a Template Every printer has a sock template: an outline showing the printable area, the seam location, the heel and toe, and the safe zones. Design inside it. Artwork should not run into the toe, where the fabric curves sharply and the print will distort, or across the centre-back seam region, where registration can drift. Most templates also mark the region that ends up inside a shoe — anything placed there will never be seen.
Understanding Tube Distortion When a sock is worn, the widest part of the calf stretches the artwork horizontally while the ankle compresses it. A circle drawn on the leg becomes an ellipse; a straight horizontal band becomes a curve. There is no way to prevent this, but there is a way to design around it: keep critical elements small and centred, avoid horizontal rules that must stay straight, and never place text that spans the full circumference, because it will not meet cleanly at the back.
Colour Management Screens are backlit and fabric is reflective, so printed colour always reads darker and less saturated than on a monitor. Build in a margin: lighten light tones slightly and avoid very dark, saturated fills over large areas, which also affect hand feel. If a brand colour must match, supply a physical reference and ask for a printed colour swatch before production — screen matching against a Pantone reference alone is unreliable on textured synthetic knit.
Sole and Placement Prints Designs placed on the sole must account for left and right feet if the artwork is directional, which doubles the artwork and the printing setup. Non-directional artwork avoids this and is cheaper. For ankle medallions and other placed motifs, remember that the ankle moves: a motif placed too low disappears into the shoe, and one placed too high ends up behind the trouser hem.
Proofing: The Step Nobody Should Skip Always approve a physical proof on a leg form before production. Check four things: colour against your reference, registration at the seam, distortion of critical elements over the calf, and hand feel where coverage is heaviest. A proof costs a few days and a small fee; discovering the same problem in a production run costs the entire order.
If that is settled, the next question is usually answered in Animal Print Socks Design Ideas.
FAQ
Q: What resolution does artwork need? A: 300 dpi at actual size. Vector is ideal for flat graphics.
Q: Can I print all over the sock? A: Technically yes, but avoid the toe, the seam line and anything that ends up inside a shoe.
Q: Why does my design look different on the sock than on screen? A: Fabric reflects light rather than emitting it, and the tube distorts the artwork. Both are normal — proof accordingly.
Q: Do I need left and right versions? A: Only for directional artwork on the sole or the outer ankle. Non-directional designs avoid the cost.
CONCLUSION
Printed sock design is governed by the tube: work from the printer’s template, keep critical artwork inside safe zones, design for distortion rather than against it, and manage colour against a physical reference. Then approve a proof on a leg before production. Those five steps separate a printed sock that looks designed from one that looks like a mistake.
When you are ready to produce, the Sockmader custom sock factory covers sampling, MOQ and lead times in one place.
Start your next order with custom printed socks from Sockmader — send artwork, size range and target quantity for a quote.